How to Build a Kit Home in Australia: Step-by-Step Guide 2026
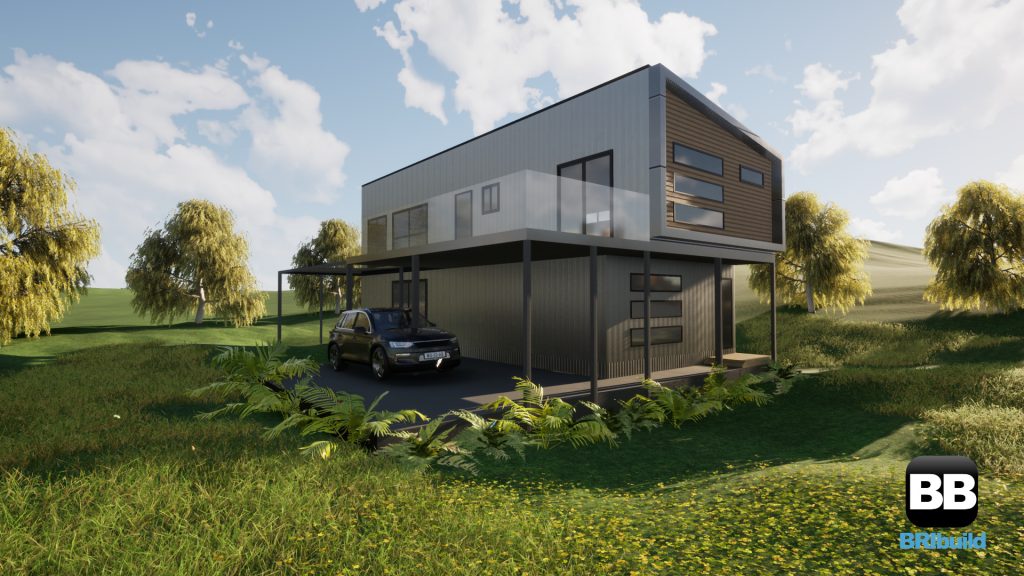
Part of our kit homes Australia guide. See also: hidden costs | common problems | are kit homes worth it
How to Build a Kit Home in Australia: Step-by-Step Guide 2026
Building a kit home involves coordinating design. Start with our complete kit homes Australia guide for an overview, then follow this, approvals, site preparation, delivery, assembly, and fit-out. This guide walks through each phase with realistic timelines, costs, and decision points.
Whether you’re owner-building or hiring contractors, understanding the full process prevents costly surprises and keeps your project on track.
Phase 1: Planning and Design (4–8 weeks)
Site Assessment
Before selecting a floor plan, understand what your block demands:
Soil test: A geotechnical report ($400–$800) classifies your soil from A (stable sand/rock) to E (highly reactive clay). This determines foundation design and cost. Skip this at your peril — reactive soils without proper engineering cause cracking and structural failure.
Contour survey: For anything beyond a flat block, a registered surveyor ($600–$1,500) maps your site levels. Slopes over 1:6 require careful subfloor design.
Bushfire assessment: Properties in designated bushfire-prone areas need BAL (Bushfire Attack Level) assessment. BAL ratings from LOW to FZ (Flame Zone) dictate materials, construction methods, and costs. BAL assessments cost $300–$800.
Flood and overlay checks: Council planning maps reveal flood overlays, heritage restrictions, environmental significance, and neighbourhood character requirements. Free to check; potentially deal-breaking to ignore.
Design Selection
Three approaches to getting your floor plan:
Standard plans: Choose from supplier catalogues and modify room sizes, add verandahs, or adjust window positions. Most suppliers include minor modifications at no charge. Major changes (structural walls, roof form) may incur drafting fees of $500–$2,000.
Custom design from scratch: Commission a floor plan matching your exact requirements. Expect $3,000–$8,000 for drafting and 3–6 weeks lead time. Worth it for complex sites or specific lifestyle needs.
Bring your own plans: Have existing architect or draftsperson drawings converted to kit home specifications. Suppliers assess buildability and quote accordingly.
Getting Quotes
Request quotes from at least three suppliers. Ensure each quote specifies:
- Steel gauge and grade (G550 minimum for structural members)
- Included components (frames, trusses, fixings, bracing)
- Engineering certification (included or additional?)
- Delivery distance covered
- Assembly instructions/support
- Warranty terms
Beware quotes omitting engineering — this can add $5,000–$12,000 later.
Phase 2: Council Approvals (4–12 weeks)
Development Approval (DA)
Most residential kit homes require development approval assessing your proposal against local planning controls. DA applications include:
- Site plan showing setbacks, driveway, services
- Floor plans and elevations
- Statement addressing planning provisions
- Site analysis (shadow diagrams, overlooking assessment in some areas)
- Bushfire assessment if applicable
- BASIX certificate (NSW only)
DA fees range from $500 for simple rural builds to $5,000+ in complex urban contexts. Processing times vary wildly: 4 weeks in efficient regional councils, 16+ weeks in overburdened metropolitan areas.
Construction Certificate / Building Permit
Once DA is granted, you need construction documentation approved by either council or a private certifier/surveyor. This stage requires:
- Full structural engineering (frame, truss, foundations)
- Energy rating (7-star minimum under NCC 2022)
- Services design (stormwater, sewer/septic, water, electrical)
- BAL-compliant construction details if applicable
Private certifiers typically process faster than council. Budget $2,500–$6,000 for certification fees depending on build complexity.
Owner-Builder Permit
If you’re managing construction yourself (not just contributing labour), most states require an owner-builder permit. Requirements vary by state but typically include:
- Completed owner-builder course (usually 1 day, $300–$500)
- Permit application fee ($50–$200)
- Home warranty insurance exemption form
- Statutory declaration
Owner-builder permits come with obligations: you cannot sell the property for 6 years (varies by state) without disclosing owner-builder status and potentially providing defect insurance.
Phase 3: Site Preparation (1–4 weeks)
Access
Delivery trucks need adequate access. Kit home deliveries typically use semi-trailers requiring 20m+ turning circles. Steep, narrow, or winding driveways may require smaller delivery vehicles (at higher cost) or temporary access upgrades.
Services Connection
Power: Temporary builder’s supply ($500–$1,500) or underground connection to the permanent meter box location. Underground runs cost $50–$100 per metre plus connection fees.
Water: Connection to mains ($1,000–$4,000) or bore/tank system. Remote sites need water transport during construction.
Sewer/Septic: Sewer connection where available ($2,000–$8,000). Otherwise, septic system design and approval, with installation costing $8,000–$25,000.
Clearing and Earthworks
Tree removal (with council approval if significant), stripping topsoil, and rough levelling. Flat sites might need $3,000–$5,000 of work. Sloping sites requiring cut-and-fill can exceed $30,000 for major earthworks.
Phase 4: Foundations (2–4 weeks)
Foundation Types
Concrete slab: Most common for flat sites with stable soils. Waffle pod slabs suit reactive soils. Costs range from $100–$180 per square metre ($15,000–$30,000 for a typical home).
Strip footings with bearers: Traditional timber or steel bearers on concrete strip footings. Less common for modern kit homes.
Steel subfloor on piers: Engineered steel bearers and joists on concrete piers or screw piles. Ideal for slopes (eliminating expensive earthworks), flood-prone sites (lifting floor level), and reactive soils (isolating structure from ground movement). Costs $120–$250 per square metre depending on height and complexity.
Screw piles: Helical steel piles screwed into the ground. Fast installation (a house in 1–2 days), minimal site disturbance, excellent for remote sites. Premium pricing of $400–$800 per pile plus bearer system.
Foundation Engineering
Foundation design must match your kit home engineering. Engage your kit supplier and foundation engineer early — incompatible designs cause expensive variations. Most suppliers offer integrated foundation packages ensuring compatibility.
Phase 5: Kit Delivery (1–2 days)
Delivery Preparation
- Confirm access is suitable for delivery vehicles
- Prepare a level, dry area for unloading and storage
- Arrange crane if required (most trusses need crane handling)
- Have tarps ready if weather threatens
- Check delivery manifest against order before signing
Component Inspection
Before the truck leaves, verify:
- All bundles match the packing list
- No visible damage to frames or trusses
- Engineering drawings and assembly guides included
- All fixings and brackets present
Document any issues immediately — claims after delivery are difficult.
Phase 6: Frame Assembly (1–3 weeks)
Tools Required
- Impact driver and drill
- Spirit levels (1200mm and 2400mm)
- String lines and laser level
- Tape measures (8m minimum)
- Chalk line
- Scaffolding (hire $200–$500/week)
- Safety equipment (harnesses for roof work, hard hats, gloves)
Assembly Sequence
1. Wall frame erection: Starting from one corner, stand wall panels and temporarily brace. Use string lines to ensure walls are straight and plumb before final fixing. Connect walls at corners and intersections as per engineering drawings.
2. Top plate and bracing: Install continuous top plates connecting wall panels. Fit permanent bracing as specified — this is structural, not optional.
3. Ceiling frame: For homes with ceiling frames separate from trusses, install ceiling joists and noggins.
4. Truss installation: Typically crane-lifted onto walls, trusses are positioned at specified centres (usually 600mm or 900mm) and fixed with engineered brackets. Temporary bracing holds trusses until permanent bracing and roof sheeting complete.
5. Roof bracing: Install permanent roof bracing before removing temporary supports. This includes speed bracing, tie-down straps for cyclonic areas, and web stiffeners.
Quality Checkpoints
- All walls plumb within 3mm over 2400mm height
- All connections match engineering specifications
- Bracing installed as per drawings
- Truss spacing consistent
- No damaged or bent members installed
Phase 7: Weathertight Stage (3–6 weeks)
Roofing
Install roof battens, sarking (reflective insulation under metal roofing), and roof sheeting. Metal roofing (Colorbond or equivalent) is standard for kit homes — lightweight, durable, and fast to install. Tiled roofs add weight requiring upgraded trusses.
External Cladding
Options include:
- Metal cladding: Colorbond or similar. Fast, economical, low maintenance.
- Fibre cement: Weatherboard profile, painted finish. Traditional appearance, fire-resistant.
- Brick veneer: Requires brick ledge on foundations. Adds 4–6 weeks to build time.
- Timber: Natural appearance, requires ongoing maintenance. Check BAL restrictions in bushfire areas.
Windows and External Doors
Install window and door frames, flash correctly for weather sealing, and fit glazing. For bushfire zones, ensure glazing meets BAL requirements (toughened, certain frame materials).
Pre-Lining Inspection
Your certifier/surveyor conducts a frame and pre-lining inspection before internal works proceed. This confirms structural adequacy and external envelope integrity.
Phase 8: Internal Fit-Out (6–10 weeks)
Rough-In (First Fix)
Plumbing: Waste pipes, water supply rough-in, gas if applicable. Licensed plumber required. Budget $8,000–$15,000.
Electrical: Cable runs, switch and outlet positions, switchboard installation. Licensed electrician required. Budget $8,000–$18,000.
HVAC: Ductwork for ducted heating/cooling if specified. $5,000–$15,000 depending on system.
Insulation
Wall, ceiling, and underfloor insulation installed before lining. NCC 2022 requires total R-values achieving 7-star thermal performance. Insulation costs $4,000–$10,000 depending on required R-values and access difficulty.
Internal Lining
Plasterboard fixing, setting (taping, sanding), and cornice installation. Professional plasterers deliver superior results; determined DIYers can achieve acceptable finishes with practice. Budget $12,000–$25,000 contracted.
Second Fix
Plumbing: Fixtures installation — toilets, basins, taps, shower screens.
Electrical: Switches, outlets, light fittings, final connections.
Kitchen and Bathroom
Kitchen cabinetry, benchtops, and appliances: $8,000 (flat-pack basic) to $50,000+ (custom stone). Bathroom tiling, vanities, toilets, and shower: $5,000–$25,000 per bathroom.
Flooring
Tiles, timber, laminate, or vinyl. Material plus installation runs $30–$150 per square metre. Budget $5,000–$20,000 for a typical home.
Painting
Internal and external painting. DIY-friendly for motivated owners. Professional quotes: $8,000–$20,000.
Phase 9: Completion and Handover (1–2 weeks)
Final Inspections
- Final plumbing certificate
- Electrical certificate of compliance
- Building surveyor/certifier final inspection
- Occupation certificate issued
Defect Rectification
Walk through with a checklist noting any defects: scratched surfaces, poor finishing, incomplete items. Rectify before occupancy.
Documentation
Compile and store:
- All certificates and compliance documents
- Engineering drawings
- Appliance manuals and warranties
- Paint colours and flooring details for future maintenance
- Trade contact details
Owner-Builder vs Hiring a Builder
Owner-Builder Advantages
- Labour savings of $50,000–$150,000
- Complete control over quality and timing
- Direct trade relationships
- Learning experience and satisfaction
Owner-Builder Challenges
- Project management burden
- Statutory obligations and liability
- Learning curve on unfamiliar tasks
- Potential for costly mistakes
- Resale restrictions for 6 years
Using a Builder
Many kit home suppliers offer builder referrals or turnkey construction. Hiring a builder eliminates project management stress but costs 30–50% more than owner-builder completion. Verify builder registration, insurance, and kit home experience.
Realistic Timeline
| Phase | Duration | Cumulative |
|---|---|---|
| Planning and design | 4–8 weeks | 4–8 weeks |
| Council approvals | 4–12 weeks | 8–20 weeks |
| Site preparation | 1–4 weeks | 9–24 weeks |
| Foundations | 2–4 weeks | 11–28 weeks |
| Kit manufacturing | 4–8 weeks (parallel) | — |
| Frame assembly | 1–3 weeks | 12–31 weeks |
| Weathertight shell | 3–6 weeks | 15–37 weeks |
| Fit-out | 6–10 weeks | 21–47 weeks |
| Completion | 1–2 weeks | 22–49 weeks |
Best case: 5–6 months from approval to completion.
Typical: 7–9 months.
Complex sites/slow councils: 12+ months.
Kit Home Build Checklist
Pre-Build
- ☐ Soil test completed
- ☐ Contour survey (if sloping)
- ☐ BAL assessment (if bushfire zone)
- ☐ Floor plan selected/designed
- ☐ Kit supplier selected
- ☐ Full quote including engineering obtained
- ☐ Finance approved
- ☐ Development approval lodged
- ☐ Owner-builder permit (if applicable)
- ☐ Insurance arranged
Approvals
- ☐ DA approved
- ☐ Construction certificate/building permit issued
- ☐ Kit ordered with confirmed delivery date
Site Preparation
- ☐ Access confirmed for delivery
- ☐ Temporary power connected
- ☐ Water available on site
- ☐ Site cleared and levelled
- ☐ Toilet facilities arranged
Construction
- ☐ Foundation inspection passed
- ☐ Kit delivered and inspected
- ☐ Frame erected
- ☐ Frame inspection passed
- ☐ Roof complete
- ☐ Weathertight shell achieved
- ☐ Pre-lining inspection passed
- ☐ Rough-in complete
- ☐ Pre-lining inspection passed
- ☐ Lining and fit-out complete
- ☐ Final inspection passed
- ☐ Occupation certificate issued
Browse floor plans | Detailed cost breakdown | Get expert advice | Statistics